Imagine you’re outlining an Oracle Process Cloud Application that you need to build. You then realize you need the data that’s entered into your form to be passed to a Process, filtered through a Decision, and used as an input for a REST API call. That scenario could have you creating a Field, Data object, Decision input object, and a REST API request body. However, if you start by defining a Business Object that contains all the data you will need for these functions, you may find you only need one. Below describes how you can keep your data organized within your Process Cloud Application, and shorten the time needed to create and link these objects. Oracle PCS is extremely versatile and can help you leverage the Oracle Process Cloud optimally.
Creating Application Wide Business Objects With Oracle PCS
Define your Business Object to Allow the Most Versatility
A Business Object is a set of data you will be storing throughout your process. It may be two or three string values, a combination of dates, amounts, and personal data. Or, it may be a complex set of arrays. Business Objects can take many forms which allows for a wide range of business needs. The key for success is to have a versatile Business Object to avoid creating new Business Objects for data at different points in your workflow process.
For example, you want to create a form that will ask for a user’s name, address, phone number, and email. From this you will derive the user’s region where you can then perform a lookup to get the user’s account number. A shorter process, rather than having a Form Object with field values, a Decision Object for the region derived, and then an API Request Body to do the account lookup; it is best practice to create a single Business Object with all six values defined within it. Make sure to specify that account number is an array as the user may have more than one account.
Create your Business Object in your Process Cloud Application
There are multiple ways to create business objects within the Process Cloud
Creating New Business Objects
This option does not require any code or formatting and will walk you through creating your Business Object, step by step. For details on this option, Click Here.
Importing Business Objects – From XML Schema
If you have an xsd file for a web service you will be using, or if you have an XML Schema already written, this option allows you to import that file to define your attributes. For more information on this feature, Click Here.
Importing Business Objects – From JSON
If you know you will be using a REST API call within your process, this option allows you to paste in the JSON that will define your request body. You can also write your own JSON to define what attributes you will be using in this Business Object. Simply format your attribute as outlined below. The values are examples of the types of values you are expecting.
{ “Name” : “Your Name”,
“Phone_Number” : “123-555-9876”, “Address” : “123 Baker St, New York NY 54321”, “Email” : “YourEmail@Tekstream.com”, “Account_Number” : [{ “Account_Type”:”Customer”, “Account_Number” : 123123
Now that you have your attributes defined in your new Business Object, you can create a form in a snap. Whether you’re creating a Web Form (Oracle’s newest form builder) or a Basic Form (Frevvo), you can drag and drop your Business Object into your form and have the fields built out for you. Just follow the steps below:
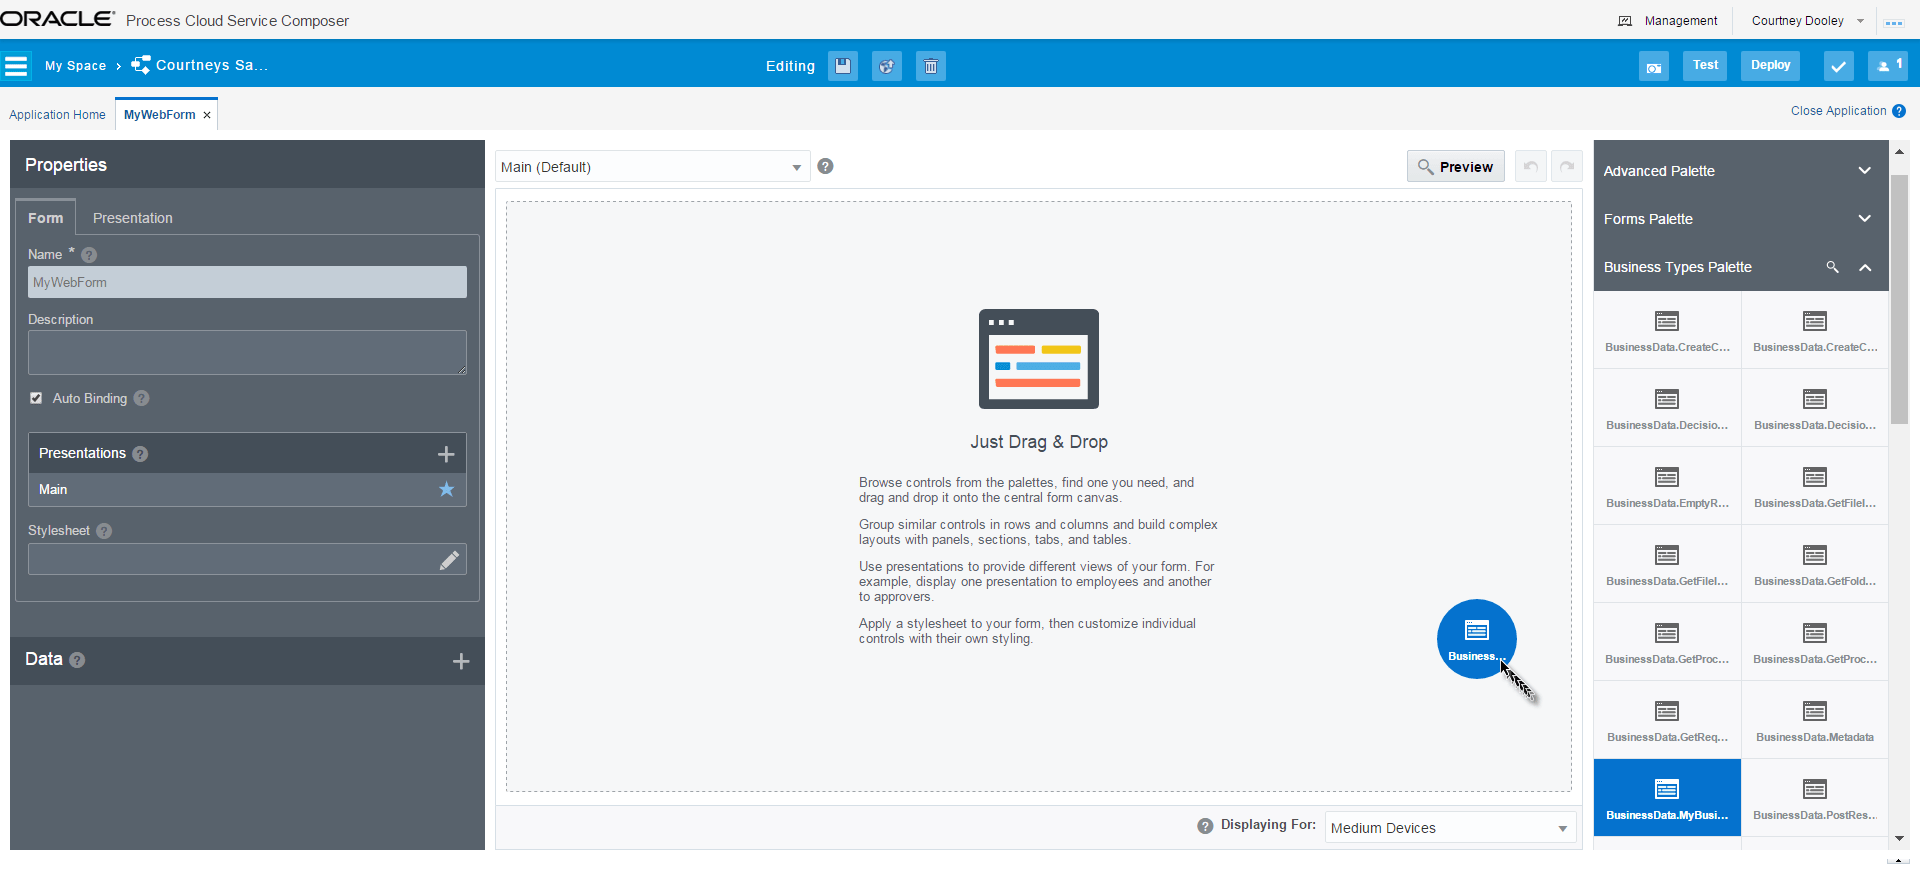
Web Forms:
Create a New Web Form, or Edit one you’ve previously created.
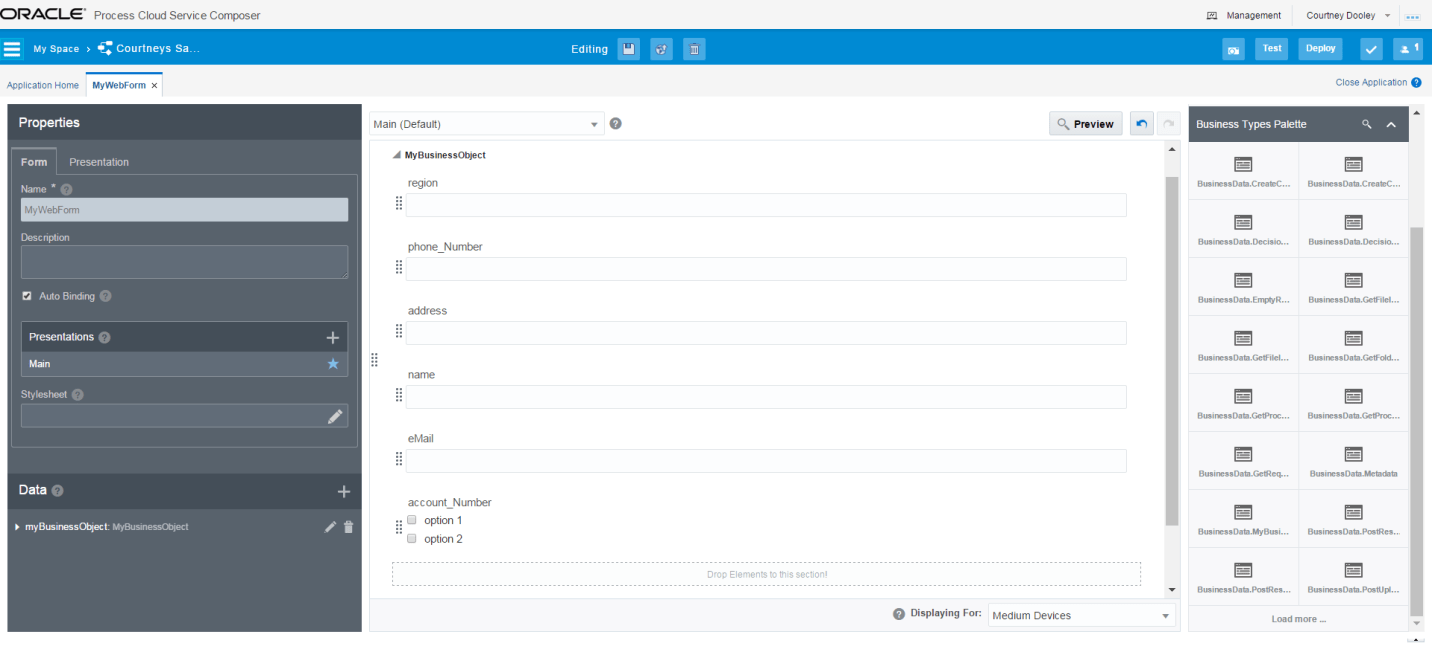
From the Business Types Palette, drag and drop your new Business Object
All of the fields will appear as you outlined in your Business Object, including the ones your user will not be filling out.
Now you can modify the fields to the layout you prefer. You can also remove the fields you don’t want on your form.
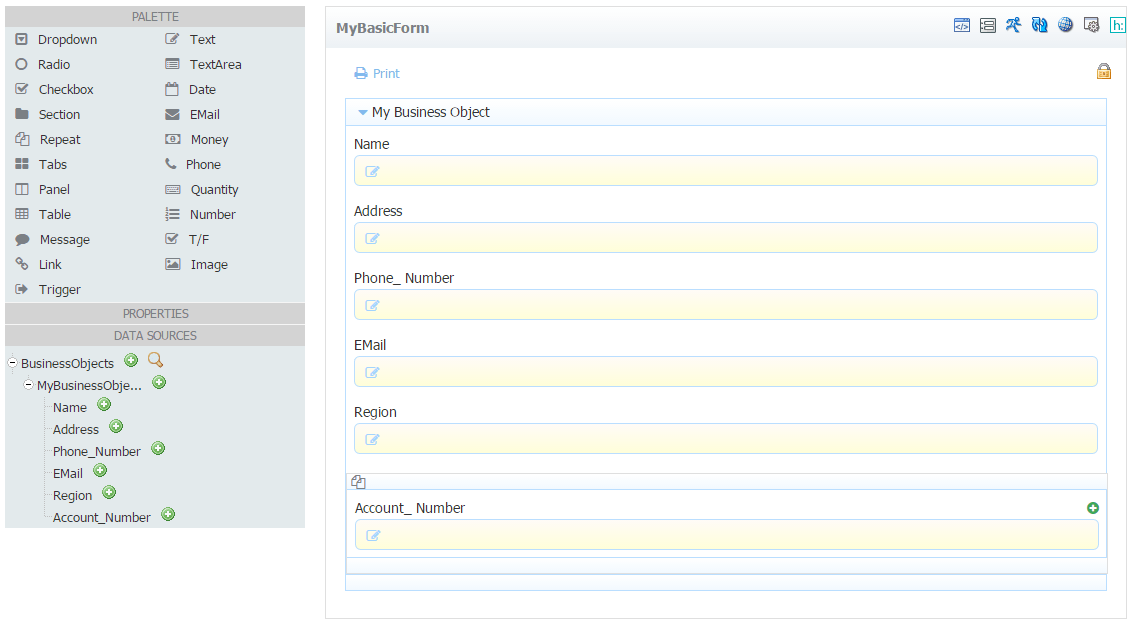
Basic Forms:
Create a New Basic Form, or Edit one you’ve previously created.
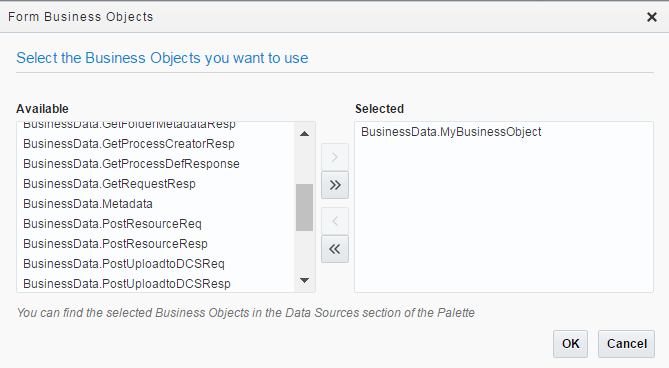
Click on the Manage Business Objects icon in the Form Header menu.
In the Form Business Objects window, move your Business Object from the “Available” Column to the “Selected” Column.
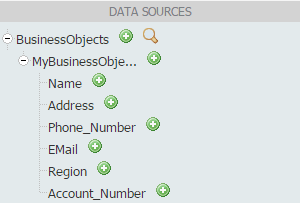
After clicking “OK”, your business object will be available in the Data Sources Business Objects.
You can either click the green plus sign for the individual objects you wish to add to your form, or you can click the green plus sign for the entire object to create all fields.
Now you can modify the fields to the layout you prefer, as well as remove the unwanted fields.
Processes, Decisions, and Integrations
Throughout your application development process you will find many places where you need to define the type of input and output you will be expecting. Now that you have defined your Business Object, it can be used for any data object input or output.
Sub Processes: Inputs and Outputs
Decision Rules: Inputs and Outputs:
Integrations: Request Body and Response Body
As you can see, Business Objects can unify your Application Data and can significantly speed up the development process. By planning ahead and making smart choices for your Business Objects, you can create a complex Application simply.
Contact Us for more tips and tricks on developing smart Oracle Process Cloud Applications or general use cases for the Oracle Process Cloud.
Share This:
We serve cookies on this site to analyze traffic, remember your preferences, and optimize your experience.