

How to Configure SSL for a Distributed Splunk Environment
By: Bruce Johnson | Director, Enterprise Security
Many organizations use Splunk today. Of those adopters, most have a distributed Splunk environment. Often, organizations have sensitive data traversing their network, which makes its way into Splunk. More now than ever, security is at the forefront of everyone’s mind, and securing your Splunk environment is no exception. How to properly secure a distributed Splunk environment is not a new concept, but it is still frequently underutilized or improperly implemented. With that being said, an overview of how to implement SSL between your Splunk Deployment Server and Splunk Web instances will be discussed in detail. Manually configuring the Search Head and Search Peers will be overviewed.
As Splunk ships with OpenSSL, this method will be discussed in examples. Ensure you are using the proper version of OpenSSL on each Splunk instance. The steps provided assume you are configuring on a Linux-based host, and Splunk is installed in the /opt/splunk OR /opt/splunkforwarder directory, and using Splunk default ports.
Deployment Server and Splunk Web
You will want to secure your traffic from your web browser to your Deployment Server, as non-ssl traffic transfers raw data. Cleartext makes it easy for those that know how to intercept traffic to read your data. Use SSL certificates to help secure your data by turning your cleartext into ciphertext, especially when you need to access instances outside of your network. There are, of course, default certificates that ship with Splunk. It is a best practice to go with either a self-signed or a purchased CA-signed certificate instead. How to utilize self-signed certificates will be discussed.
First, make a directory for your self-signed certificates, to ensure you don’t interfere with the default Splunk certificates. Then, traverse to that folder. While in that folder, create your private key (PK) that you will utilize to sign your certificates. Ensure access to this folder is limited to personnel that needs access, as private keys should never be shared. Encrypted data can be decrypted by anyone that has the private key.
Next, you will need to generate your custom Certificate Signing Request (CSR). Use your CSR to create your public certificate (.pem), which is what you will distribute to your various Splunk instances. With the root certificate created to act as a CA, you will then utilize the CSR, CA certificate, and private key to generate and sign a server certificate that is valid for three years. Use the server certificate by distributing it to your indexers, forwarders, and other Splunk instances, which communicate over management port 8089. We will only discuss, however, implementing it on your Deployment Server.
- 1. mkdir /opt/splunk/etc/auth/custcerts
- 2. cd /opt/splunk/etc/auth/custcerts
- 3. /opt/splunk/bin/splunk cmd openssl genrsa -aes256 -out mattCAPK.key 2048
- a. Enter a secure password, then again to confirm.
- 4. /opt/splunk/bin/splunk cmd openssl rsa -in mattCAPK.key -out mattCAPKNoPW.key
- a. Removing the password makes it easier for testing.
- b. You’ll need to enter the secure password you created in step 3 above.
- 5. /opt/splunk/bin/splunk cmd openssl req -new -key mattCAPKNoPW.key -out mattCACert.csr
- a. Enter details to questions asked.
- 6. /opt/splunk/bin/splunk cmd openssl x509 -req -in mattCACert.csr -sha512 -signkey mattCAPKNoPW.key -CAcreateserial -out mattCACert.pem -days 1095
Now you will need to generate your server certificate:
- 7. /opt/splunk/bin/splunk cmd openssl genrsa -aes256 -out mattServerPK.key 2048
- 8. /opt/splunk/bin/splunk cmd openssl rsa -in mattServerPK.key -out mattServerNoPW
- a. Again, removing the password makes testing easier.
- 9. Use your new server private key mattServerPK.key to generate a CSR for your server certificate. (use sdsp01.nielsen.com for the common name in the CSR).
Similar to steps 1-6, you will use the private key to create the CSR, then both to create the server certificate.
- 10. /opt/splunk/bin/splunk cmd openssl req -new -key mattServerNoPW.key -out mattServerCert.csr
- 11. /opt/splunk/bin/splunk cmd openssl x509 -req -in mattServerCert.csr -SHA256 -CA mattCACert.pem -CAkey mattCAPKNoPW.key -CAcreateserial -out mattServerCert.pem -days 1095
You’ll now want to concatenate them all together (you will do this two different times in these steps). The format and reasoning are explained here:
- 12. cat mattServerCert.pem mattServerNoPW.key mattCACert.pem > mattNewServerCert.pem
At this point, you will need to update the server.conf file on your Deployment Server. This file is located in the /opt/splunk/etc/system/local/ directory. You can get more granular in the stanzas if you prefer, and the options are listed in Splunk docs.
- 13. Find the [sslConfig] stanza.
- 14. [sslConfig]
- 15. enableSplunkdSSL = true
- 16. serverCert = /opt/splunk/etc/auth/custcerts/mattNewServerCert.pem
- 17. caCertFile = /opt/splunk/etc/auth/custcerts/mattCACert
Here you will need to restart Splunk on your Deployment Server instance.
- 18. /opt/splunk/bin/splunk restart\
You will need to generate a key specifically for the web UI for the Deployment Server. Please note that you must remove the password for the Splunk Web portion, as it’s not compatible with a password.
- 19. /opt/splunk/bin/splunk cmd openssl genrsa -des3 -out mattWebPK.key 2048
- 20. /opt/splunk/bin/splunk cmd openssl rsa -in mattWebPK.key -out mattWebPKNoPW.key
- 21. /opt/splunk/bin/splunk cmd openssl req -new -key mattWebPKNoPW.key -out mattWebCert.csr
- 22. /opt/splunk/bin/splunk cmd openssl x509 -req -in mattWebCert.csr -SHA256 -CA mattCACert.pem -CAkey mattCAPKNoPW.key -CAcreateserial -out mattWebCert.pem-days 1095
- 23. cat mattWebCert.pemmattCACert.pem > mattWebCertificate.pe
(You should be noticing a trend by now!)
You will now need to update the web.conf [settings] stanza, which is located in the /opt/splunk/etc/system/local/ directory path.
- 24. [settings]
- 25. enableSplunkWebSSL = true
- 26. privKeyPath = /opt/splunk/etc/auth/custcerts/mattWebPKNoPW.key
- 27. serverCert = /opt/splunk/etc/auth/custcerts/mattWebCertificate.pem
** For reasons of Splunk magic, the Deployment Server has issues pushing certs to Deployment Peers, so configure them individually/manually. An app would be much simpler method, though.
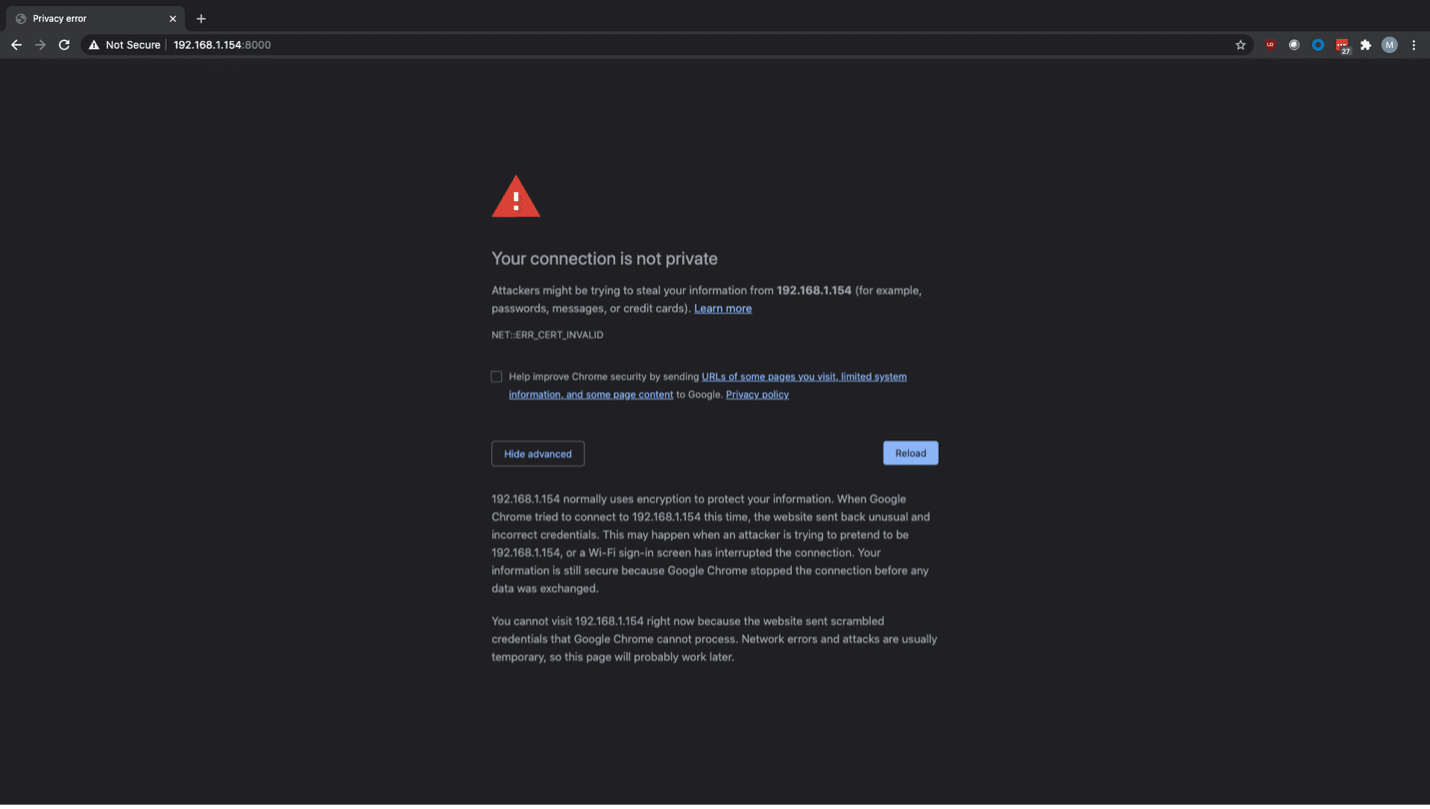
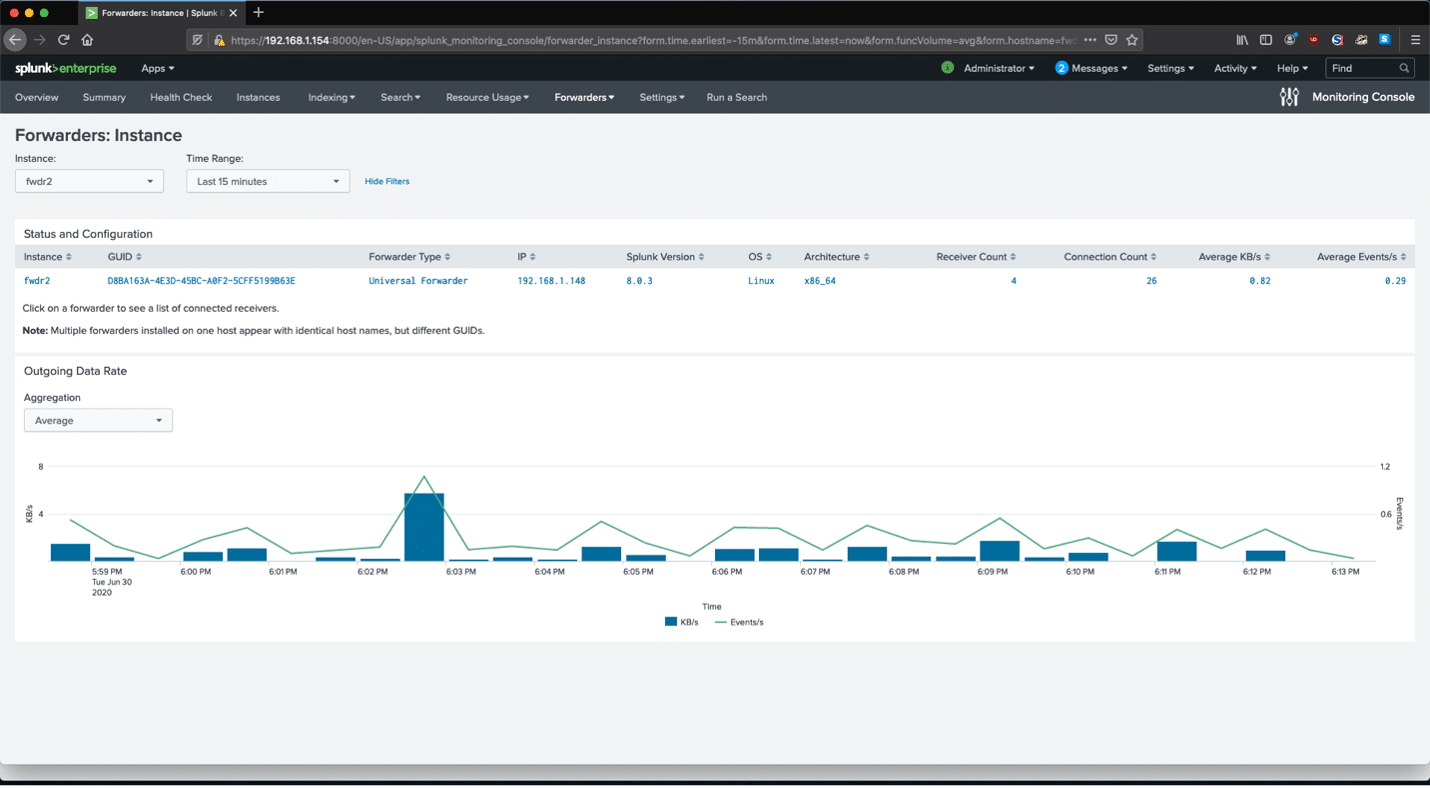
Once implemented, test within your browser. I have had issues with Google Chrome (see Image 1 below), but Firefox allows the page to be load as desired (see Image 2 below for reference). You will find that https only works at this point, and http no longer will.
SHs & Search Peers/Indexers
When adding search peers (indexers) to a search head, many admins will simply use the Splunk user interface (UI), or the command-line interface (CLI). In many situations, these are efficient and complete methods. There are, however, use cases that require adding search peers via editing distsearch.conf directly. This manner provides more granular and advanced features to be implemented. When editing distsearch.conf directly, key files need to be distributed manually to each search peer. This is in contrast to the two other methods, which implement authentication automatically.
Upon adding your search peers to your search head(s) via editing distsearch.conf, the key files need to be copied to the proper path. On your search head(s), copy the public key file, and place it in your search peer(s)’ file structure (file location(s) examples follow this paragraph). If adding search peer(s) to multiple search heads, then each search head’s public key file needs to be in its own folder named after the search head (utilize the actual serverName that is listed in server.conf for the folder name). Once the files have been properly copied over, simply restart Splunk on each Splunk search peer instance. The file location examples are as follows:
On your search head:
- $SPLUNK_HOME/etc/auth/distServerKeys/sh1PublicKey.pem
On your search peers/indexers:
- $SPLUNK_HOME/etc/auth/distServerKeys/searchHead1Name/sh1PublicKey.pem
- $SPLUNK_HOME/etc/auth/distServerKeys/searchHead2Name/sh2PublicKey.pem
Each instance of your Splunk deployment can, and should, be configured to use SSL. Each instance has its own caveats and nuances that need special attention to detail to configure properly. You should also look into securing your traffic between your forwarders and indexers.
Contact us for more help on configuring SSL for your distributed Splunk environment!